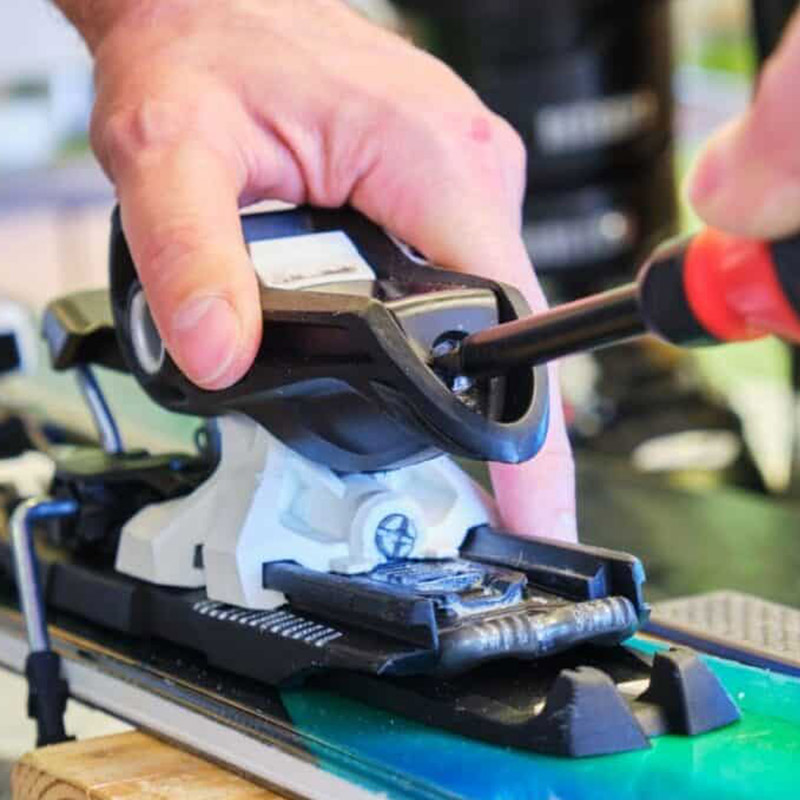
Whether you’ve bought secondhand skis, rented equipment, or picked up new boots, getting your ski bindings properly fitted is critical for both performance and safety.
How to adjust ski bindings to boot size? Can you adjust your ski bindings yourself? Yes—for basic adjustments like boot length matching and verifying DIN settings. However, doing it incorrectly can lead to pre-releasing on a high-speed turn or failing to release during a fall, increasing the risk of serious knee injuries (such as ACL tears).
This step-by-step guide walks you through the essential mechanics of adjusting your ski bindings safely at home.
Part 1. How to Adjust Ski Bindings Step by Step
Essential Tools & Prerequisites
Before tweaking any screws, gather these essentials:
- #3 Pozidriv Screwdriver (or Large #3 Phillips): Using a standard small screwdriver will strip the binding screws.
- Your Ski Boots: The exact pair you plan to ride in.
- Key Rider Metrics: Your weight, height, age, skiing ability level, and Boot Sole Length (BSL) in millimeters.
Where to find your Boot Sole Length (BSL):
Your BSL is not your Mondo shoe size (e.g., 27.5). It is a 3-digit number stamped into the hard plastic on the side or bottom heel of your boot shell (e.g., 315mm).
Step 1: Adjust Length to Match Boot Size (BSL)
Your boots must sit centered over the ski’s recommended mounting point. Ski bindings fall into two categories: Demo/Track Bindings and Standard Alpine Bindings.
Option A: Demo / Rental / System Bindings (Tool-less)
- Locate the lock levers on the center track between the toe and heel pieces.
- Lift or tab the lever up.
- Slide both the toe and heel components until their indicators match your boot’s BSL (e.g., set both to the 300–308mm zone).
- Snap the levers back flat to lock them in place.
Option B: Standard Alpine Bindings (Screw-Adjusted)
- Look at the base track behind the heel piece.
- Insert your #3 screwdriver into the track adjustment screw or lift the metal tab at the rear.
- Slide the heel piece forward or backward until the boot fits snugly into the toe cup when clicked down.
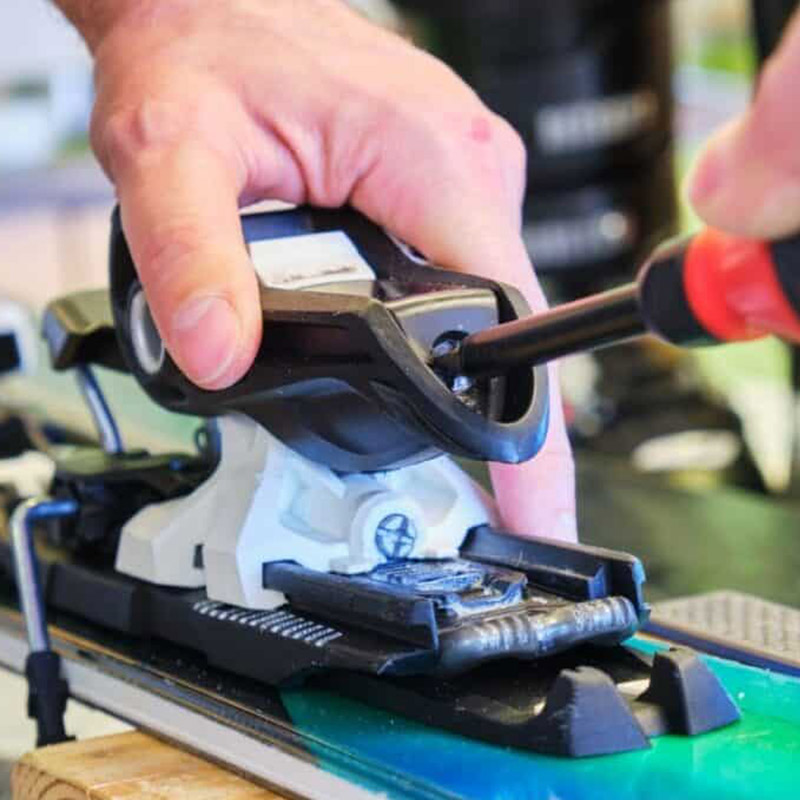
Step 2: Set Correct Forward Pressure
Adjusting the physical length is only half the job. Forward pressure ensures the binding’s spring mechanism pushes forward against the boot heel with the exact force required to maintain contact while flexing through turns.
How to Check Your Forward Pressure:
- Click your boot firmly into the binding.
- Inspect the Forward Pressure Indicator at the back of the heel piece:
- Salomon / Atomic: The rear adjustment screw head should sit flush with the plastic housing surrounding it.
- Rossignol / Look: The indicator tab on the side/rear of the track should line up within the marked notches or scribed lines.
- Marker: The adjustment screw on the heel track should sit flat/flush with the back edge.
- Adjustment: If the screw protrudes out, the binding is too tight (too far forward). If it sinks deep inside the housing, it is too loose. Turn the track screw clockwise to tighten or counterclockwise to loosen until flush.
Step 3: Calculate & Set Your DIN Setting
Your DIN value (Deutsches Institut für Normung) dictates how much force is required for the binding to release your boot during a crash.
How to Find Your DIN Value?
Your DIN is calculated using five factors:
| Metric | Factor Impact |
| Weight & Height | Higher weight/height = Higher DIN |
| Boot Sole Length (BSL) | Longer boot sole = Lower DIN (more mechanical leverage) |
| Age | Under 10 or 50+ = Lower DIN (protects softer bone density) |
| Skier Code / Type | Type I (Cautious/Beginner), Type II (Moderate/All-Mountain), Type III (Aggressive/Expert) |
Setting the DIN Screws
Every binding has two DIN scale windows: one on the toe piece and one on the heel piece.
- Toe Piece: Locate the DIN screw on the front or side of the toe box. Turn clockwise to increase or counterclockwise to lower until the indicator line matches your calculated DIN.
- Heel Piece: Locate the DIN screw at the back of the heel tower. Turn until the line matches the same number set on the toe piece.
Critical Rule: Never set the toe and heel to different DIN numbers unless explicitly advised by a certified technician for anatomical reasons.
Brand-Specific Adjustment Notes
Different manufacturers use unique visual indicators:
- Salomon / Atomic Bindings
Toe Height / Wings: Older Salomon models (like the STH series) feature a toe-height adjustment screw on top of the toe piece. Insert a business card between the boot sole and binding AFD (Anti-Friction Device); adjust until you feel slight drag sliding the card out.
- Rossignol / Look Bindings
Look Pivot: Pivot bindings do not use standard track screws for forward pressure. Instead, adjust the dual-threaded arms on either side of the heel assembly equally until the indicator notches align.
- Marker Bindings
Royal Family (Squire / Griffon / Jester): Pay extra attention to the AFD height screw under the toe plate if riding GripWalk or traditional Alpine soles to ensure smooth lateral release.
Part 2. Ski Binding DIN Calculator: What It Is & Recommended Tools
What is a Ski Binding DIN Calculator?
A Ski Binding DIN Calculator is an essential digital tool designed to eliminate guesswork when determining your ski binding’s release tension setting.
DIN (short for Deutsches Institut für Normung, the international standards organization) represents the mechanical release force required for your binding to detach from your boot during a crash. Setting your DIN too high can cause catastrophic knee injuries like ACL tears, while setting it too low can result in dangerous “pre-releases” while carving at high speeds.
An accurate DIN calculator processes the ISO 11088 safety standard by evaluating five personal variables:
- Weight & Height: Establishes your fundamental leverage baselines.
- Age: Adjusts tension downward for children (<10) or older skiers (50+) to protect lower bone density.
- Boot Sole Length (BSL): The exact outer boot length in millimeters (a longer boot creates more mechanical leverage, lowering the required DIN).
- Skier Type: Categorizes your riding aggression (Type I Cautionary/Beginner, Type II Intermediate, or Type III Aggressive Expert).
Instead of manually navigating complex paper charts, a DIN calculator instantly computes these variables to output your precise toe and heel release numbers.
Popular Online Ski Binding DIN Calculators
To quickly calculate your settings before picking up a screwdriver, use these reputable online tools:
This Ski Binding DIN Calculator is designed with a straightforward, responsive interface. Simply select your measurement units (Imperial or Metric), input your height, weight, age, skier type, and boot sole length, and it instantly calculates your recommended ISO-compliant DIN setting.
Best For: Quick, clean, and mobile-friendly lookup.
Beyond giving you an accurate DIN number, this Ski Binding DIN Calculator provides a comprehensive breakdown of the underlying physics and mechanics of ski bindings. It explains how each variable affects your setting and includes reference tables and safety guidelines.
Best For: In-depth technical understanding and visual learners.
Important Safety Reminder: Online DIN calculators provide accurate baseline numbers based on standard ISO charts. However, they cannot account for spring wear on older bindings or mechanical friction. Always perform a physical forward pressure and visual alignment check after setting your calculated DIN.
Part 3. Practical Tips for Safe DIY Adjustment
Skiers on r/Skigear and outdoor communities share crucial real-world advice for anyone attempting home binding adjustments:
- Track down manufacturer tech manuals: Don’t rely solely on general videos. Look up the exact technical manual for your specific binding model (e.g., Look Pivot, Marker Royal Family, Salomon STH) to confirm indicator alignment specs.
- Maintain an equipment log: If you manage skis for a family, log everyone’s BSL, calculated DIN, and binding models in a quick spreadsheet or phone note to eliminate setup confusion each season.
- Watch out for sole compatibility (GripWalk hazard): Never force a GripWalk boot (ISO 23223) into an older, non-GripWalk Alpine binding. Without proper Anti-Friction Device (AFD) clearance, the boot will lock up and fail to release sideways during a fall.
- Do a progressive “test run” on the snow: After making DIY adjustments, don’t charge down a steep black diamond at 40 mph immediately. Take a few slow, controlled turns on easy terrain and hit soft bumps first to monitor if the bindings hold securely or pre-release.
Part 4. FAQs about Ski Bindings Adjustment
Q1: Can I adjust my ski bindings myself?
Yes, but with caveats. You can safely adjust track length, forward pressure, and DIN settings at home if you have the right tools (a #3 Pozidriv screwdriver) and follow manufacturer manuals closely. However, home adjustments cannot replicate a shop’s mechanical torque test, which verifies that aging springs release within legal safety tolerances.
Q2: What are the adjustments on ski bindings?
Ski bindings have three main mechanical adjustments:
- Length / BSL Adjustment: Positions the toe and heel pieces along the ski track to physically fit your boot sole.
- Forward Pressure: Sets the spring force pushing the heel piece forward against the boot to keep it engaged while the ski flexes.
- DIN Setting (Toe & Heel): Calibrates the rotational and vertical force required to release the boot during a crash.
Q3: Can you adjust ski bindings for different size boots?
Yes, within the binding’s adjustment range. Demo/rental bindings offer a wide adjustment track (up to 80mm+) via tool-less levers. Standard alpine bindings typically allow 20mm–30mm of screw adjustment on the heel track. If a new boot is significantly larger or smaller than this range, the bindings must be remounted by a professional.
Q4: What setting should my ski bindings be?
Your DIN setting depends strictly on your height, weight, age, boot sole length (BSL), and skier type (I, II, or III) using the ISO 11088 standard chart. There is no single “default” setting; an average intermediate adult male often falls between 5.0 and 7.0, while light beginners may be set between 3.0 and 4.5.
Q5: How to adjust ski bindings for beginners?
If you are a beginner adjusting demo or system bindings:
- Locate the BSL millimeter number stamped on your boot heel.
- Lift the locking tabs on the binding track and slide both toe and heel pieces to match your boot’s BSL number.
- Click your boot into the binding and check that the rear forward pressure screw rests flush with its housing.
- Set both toe and heel DIN windows to your calculated Type I (cautious) setting using a #3 screwdriver.
Part 5. Complete Your Slope Safety: Premium Helmets & Goggles by FukoSports
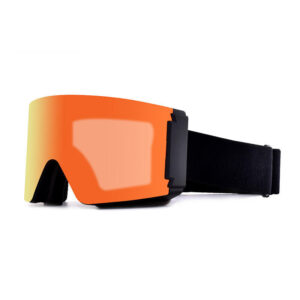
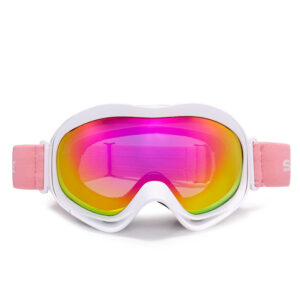
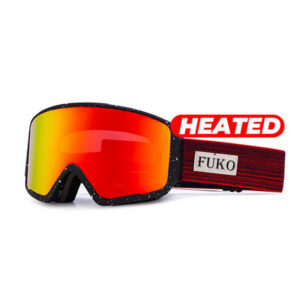
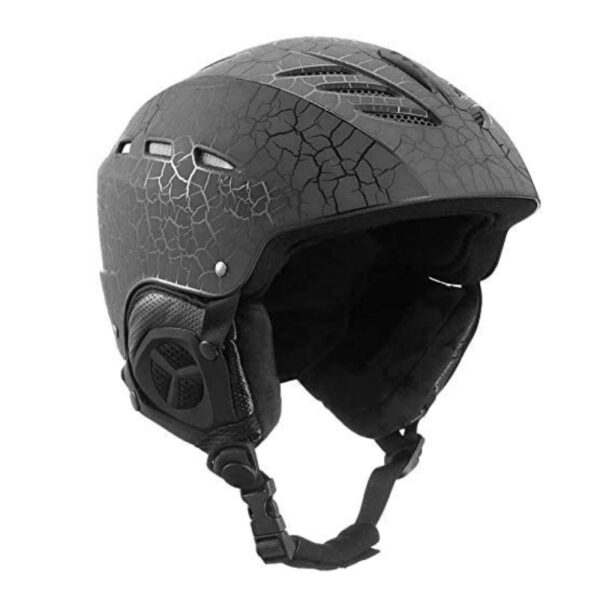
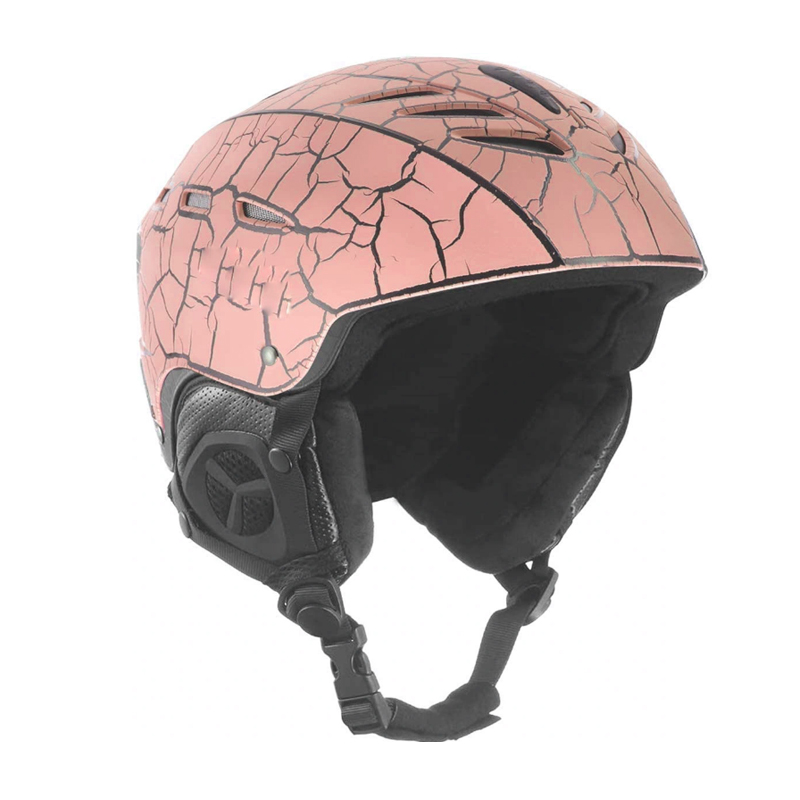
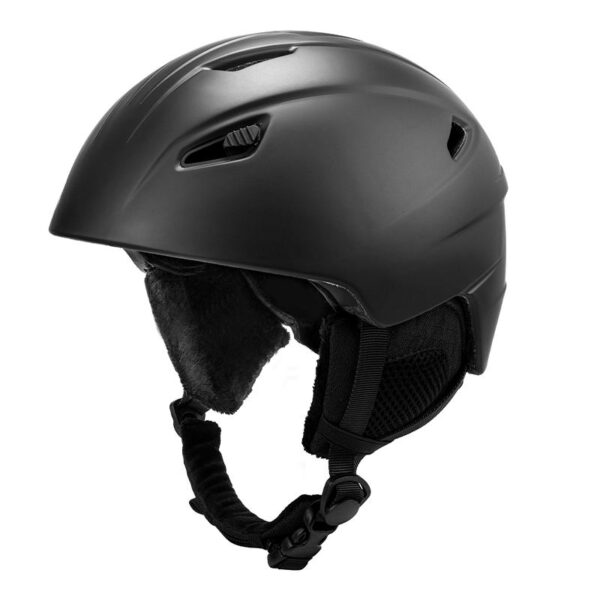
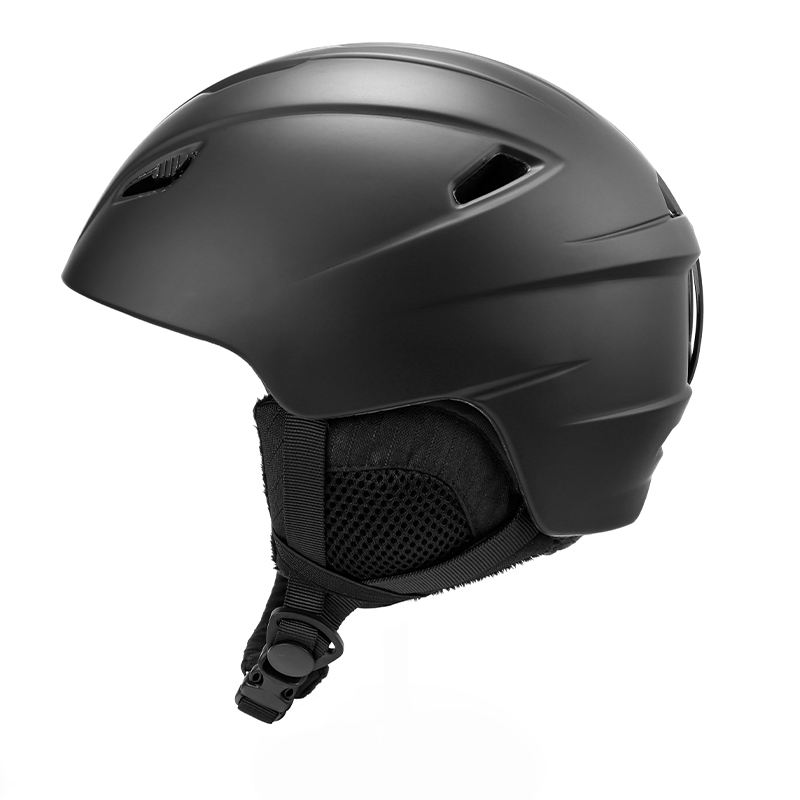
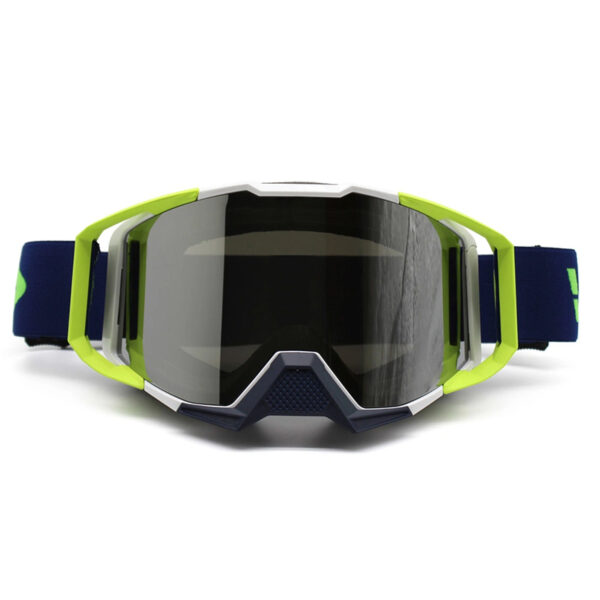
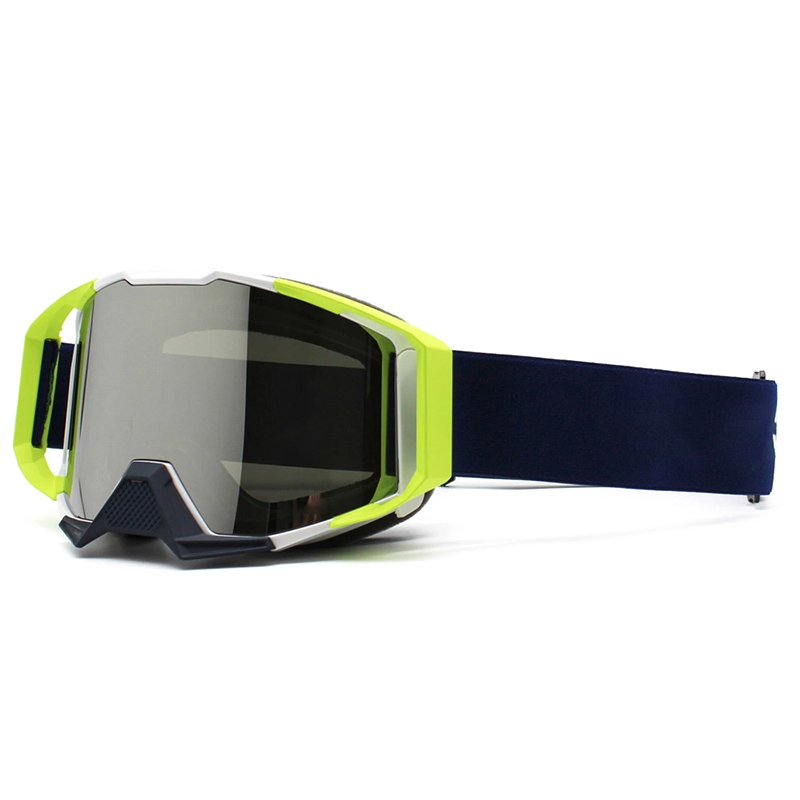
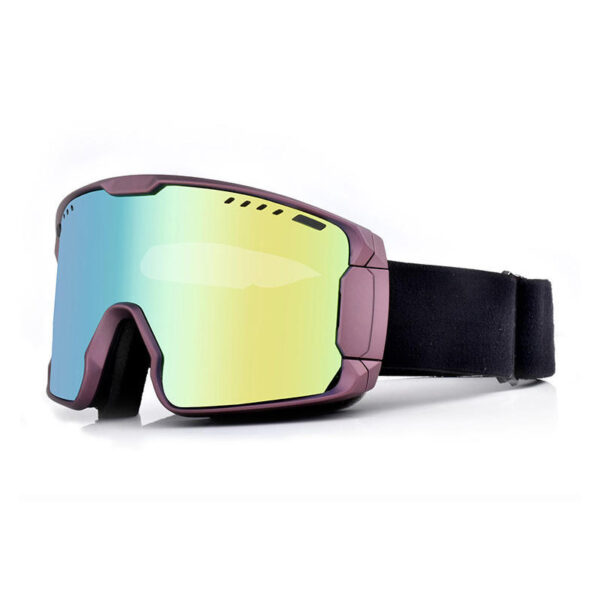
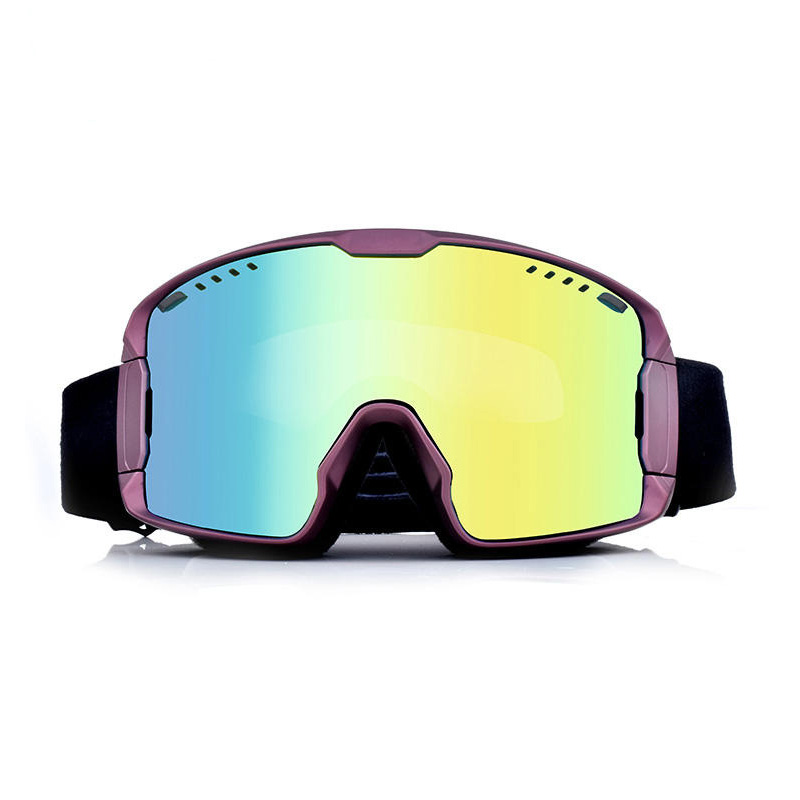
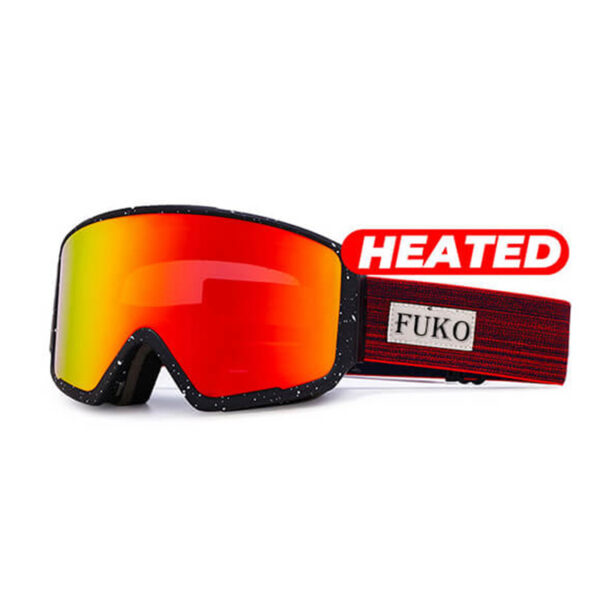
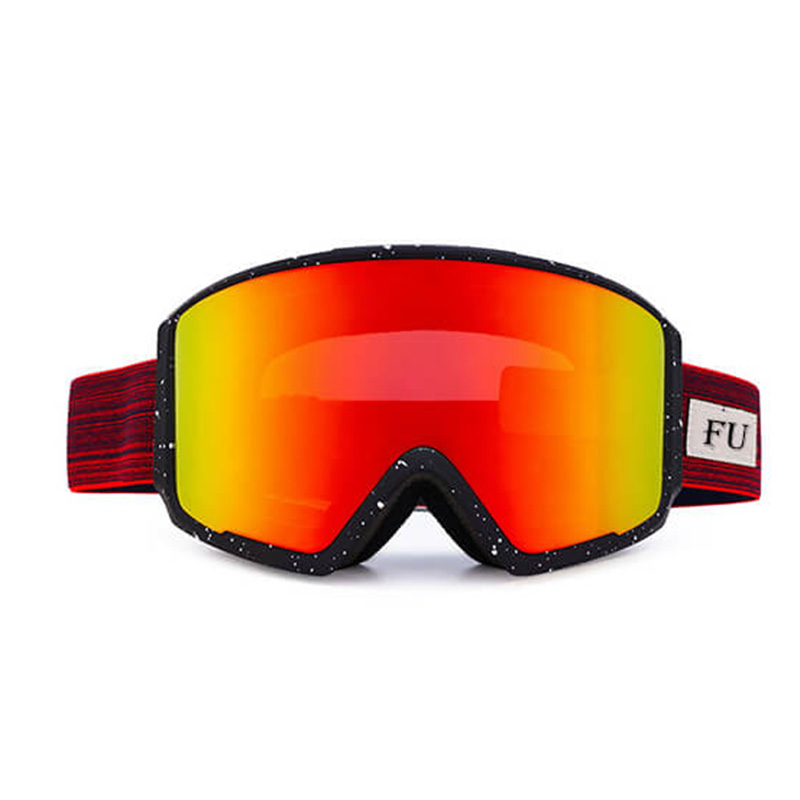
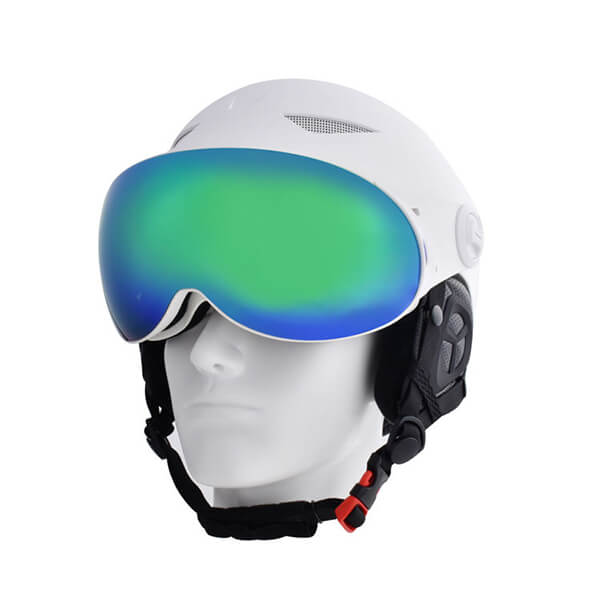
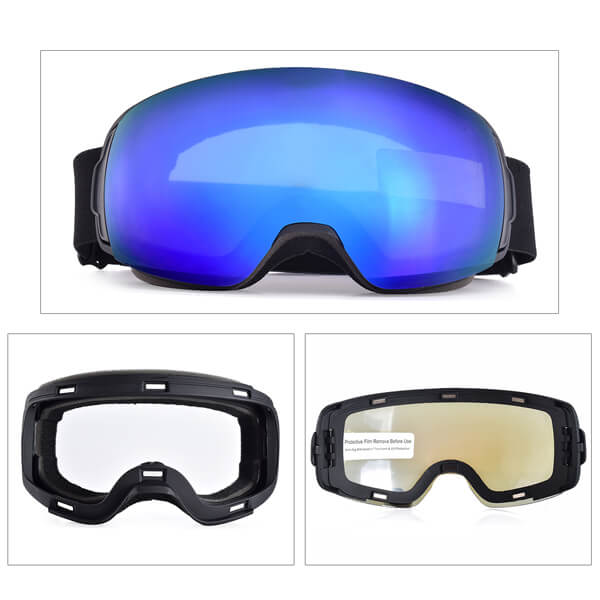
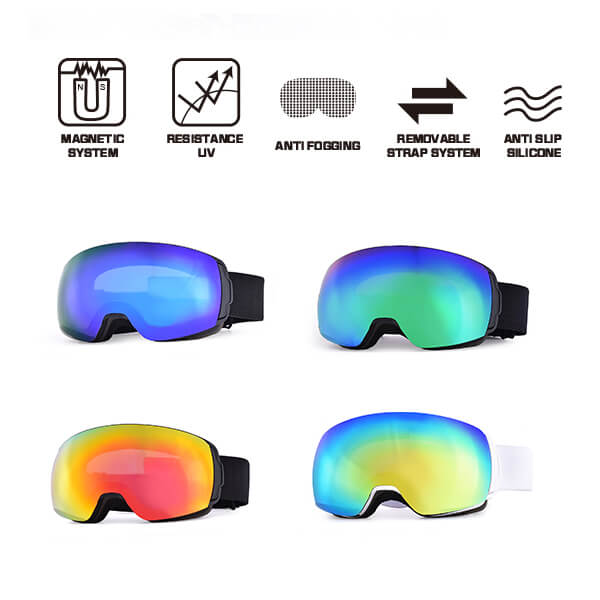
Properly calibrated bindings protect your knees, but complete mountain safety also demands reliable head and eye protection. Once your DIN and forward pressure are set, pair your skis with high-performance gear from FukoSports—a trusted manufacturer with over 9 years of expertise in custom ski goggles, dual-shell helmets, and sports eyewear. Featuring electrothermal anti-fog lenses, magnetic lens-lock systems, and OTG prescription compatibility, FukoSports delivers clear optics and seamless helmet integration on every run.
Beyond individual gear, FukoSports is a leading ODM/OEM partner for outdoor brands worldwide. With a modern factory equipped with precision injection, laser lens cutting, and strict quality control, FukoSports offers high-quality helmets and goggles at factory-direct prices. Flexible MOQs, fast lead times, and 24/7 support make it easy for brands to build their own protective eyewear lines. Visit FukoSports to explore industry-leading snow optics and helmet protection today.
Conclusion
Adjusting your ski bindings at home is doable with the right tools and careful attention to boot sole length, forward pressure, and DIN settings. This guide gives you the knowledge to set up your skis confidently—saving time and money while learning your equipment inside out.
But remember: DIY adjustment is only half the story. Only a certified shop with a torque tester can verify your bindings will release safely in a real fall. Springs wear, indicators mislead, and errors happen. For your knees’ sake, have a pro verify your work at least once a season or whenever you change boots.
Final checklist before you ski:
- BSL matches binding track
- Forward pressure indicator aligned (boot clicked in)
- Toe and heel DIN match your calculated value
- Boot clicks in/out smoothly
- Slow test runs on easy terrain to confirm retention